A 911 call alone may not be enough to save a life, but simple, clear and quick directions from the operator could do it. Two new studies have found 911 callers and bystanders instructed by operators to use simple CPR on cardiac arrest sufferers, without mouth-to-mouth, were more likely to attempt it and thus save more lives.
Only about six percent of people struck with sudden cardiac arrest outside hospitals survive. When bystanders perform CPR, which provides enough oxygen to the brain to last before emergency care arrives, that number jumps to 12 percent. With instruction from 911 operators, bystanders are more likely to perform the process, according to previous studies. They’re even more apt to do so if operators instruct them to use the hands-only version, these new studies found — 80 percent of people will attempt it, 10 percent more than if operators instruct them to use the mouth-to-mouth version.
Unless enrolled in a lifeguard, babysitting or emergency health class, the average person today remains unlikely to know the process. 911 operators then serve a critical role in instructing bystanders, boosting survival odds especially in the time it takes paramedics to arrive on the scene.
Here’s a quick run-down of CPR, with the mouth-to-mouth step included (just in case), offered by the American College of Emergency Physicians Association (and video below).
- Recognize signs of cardiac arrest: an absence of heartbeats, blood flow and pulse. When blood stops flowing to the brain, the person becomes unconscious and stops regular breathing. If a person has collapsed, determine if the person is unconscious. Gently prod the victim and shout, “Are you okay?” If there is no response, shout for help. Call 911 or your local emergency number. If the person is not lying flat on his or her back, roll him or her over, moving the entire body at one time.
- Think ABC — Airway, Breathing, and Circulation.
- Airway
- Open the person’s airway. Lift up the chin gently with one hand while pushing down on the forehead with the other to tilt the head back. (Do not try to open the airway using a jaw thrust for injured victims. Be sure to employ this head tilt-chin lift for all victims, even if the person is injured.) If the person may have suffered a neck injury, in a diving or automobile accident, for example, open the airway using the chin-lift without tilting the head back. If the airway remains blocked, tilt the head slowly and gently until the airway is open.
- Once the airway is open, take five to 10 seconds (no more than 10 seconds) to verify normal breathing in an unconscious adult, or for the existence or absence of breathing in an infant or child who is not responding.
- If opening the airway does not cause the person to begin to breathe, it is advised that you begin providing rescue breathing (or, minimally, begin providing chest compressions).
- Breathing (Rescue Breathing)
- Pinch the person’s nose shut using your thumb and forefinger. Keep the heel of your hand on the person’s forehead to maintain the head tilt. Your other hand should remain under the person’s chin, lifting up.
- Inhale normally (not deeply) before giving a rescue breath to a victim.
- Immediately give two full breaths while maintaining an air-tight seal with your mouth on the person’s mouth. Each breath should be one second in duration and should make the victim’s chest rise. (If the chest does not rise after the first breath is delivered, perform the head tilt-chin lift a second time before administering the second breath.) Avoid giving too many breaths or breaths that are too large or forceful.
- Circulation (Chest Compressions)
- After giving two full breaths, immediately begin chest compressions (and cycles of compressions and rescue breaths). Do not take the time to locate the person’s pulse to check for signs of blood circulation.
- Kneel at the person’s side, near his or her chest.
- With the middle and forefingers of the hand nearest the legs, locate the notch where the bottom rims of the rib cage meet in the middle of the chest.
- Place the heel of the hand on the breastbone (sternum) next to the notch, which is located in the center of the chest, between the nipples. Place your other hand on top of the one that is in position. Be sure to keep your fingers up off the chest wall. You may find it easier to do this if you interlock your fingers.
- Bring your shoulders directly over the person’s sternum. Press downward, keeping your arms straight. Push hard and fast. For an adult, depress the sternum about a third to a half the depth of the chest. Then, relax pressure on the sternum completely. Do not remove your hands from the person’s sternum, but do allow the chest to return to its normal position between compressions. Relaxation and compression should be of equal duration. Avoid interruptions in chest compressions (to prevent stoppage of blood flow).
- Use 30 chest compressions to every two breaths (or about five cycles of 30:2 compressions and ventilations every two minutes) for all victims (excluding newborns). You must compress at the rate of about 100 times per minute.
- Continue CPR until advanced life support is available.
[youtube=http://www.youtube.com/watch?v=fHMOswPk3ug&hl=en_US&fs=1]
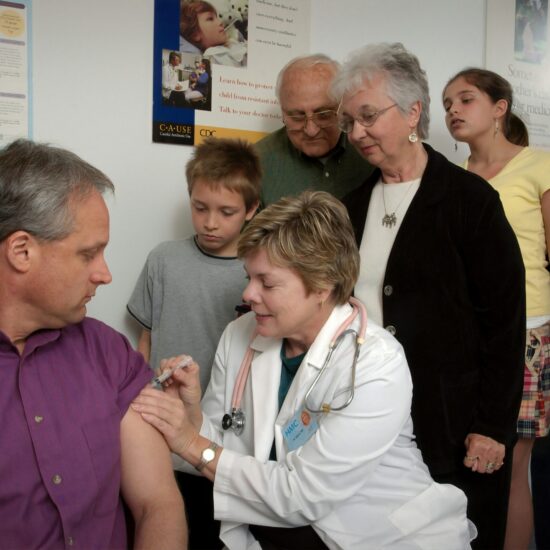
Photo credit: Frederick MD Publicity via Flickr Creative Commons
- Airway